C++Builderで、表示した画像をじわじわ消していくのはFireMonkeyならほぼコードいらずで可能だが、VCLだと自前で処理する必要がある。いろんな方法を試してみたので暫定まとめ。使いどころはよく分からないが。
0.事前準備
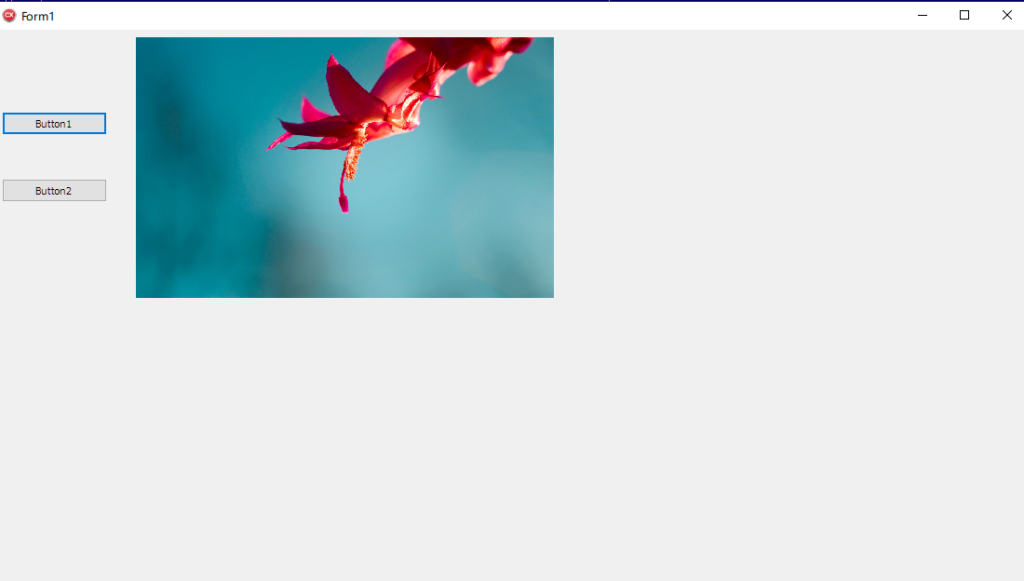
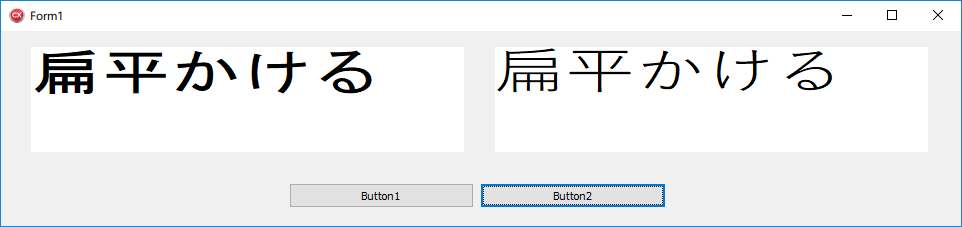
TFormにTImageを置く。
ちらつき防止のためFormのDoubleBufferedプロパティをtrueにしておく。
1.ランダムにPixel操作(力業)
画像がぽつぽつと白くなっていく効果。
画像のPixel分の数値配列をシャッフルして、順番に白くしていくだけのシンプルな力業だが、実際にやってみると一手間かけないと自然な効果が出ない。
基本形
まず基本形。
手順は単純で
①画素数分の数値配列を作ってシャッフル
②シャッフルした数値のPixelをループで白くする
だけ。
|
1 2 3 4 5 6 7 8 9 10 11 12 13 14 15 16 17 18 19 |
// ①画像のピクセル数分のランダムな数値配列を作る //--------------------------------------------------- const auto width = Image->Picture->Width; const auto height = Image->Picture->Height; std::vector<int> rv( width * height ); std::iota( rv.begin(), rv.end(), 0 ); std::mt19937 engine( time(0) ); // "time(0)"はclang用: std::shuffle( rv.begin(), rv.end(), engine ); // ②ひとつずつ白くしていく //--------------------------------------------------- int x = 0, y = 0; for( const auto& num : rv ) { x = num / height; y = num % height; Image->Canvas->Pixels[x][y] = clWhite; Image->Update(); } |
多めに変化
上記のコードだと、PCの性能や画像サイズにもよるがかなり遅い。複数のPixelを白くするよう改良してみる。
|
1 2 3 4 5 6 7 8 9 10 11 12 13 |
// ②B 複数まとめて白くしていく //--------------------------------------------------- const int val = 50; for( int i = 0; i < rv.size(); i += val ) { for( int n = i; n < i + val && n < rv.size(); ++n ) { int x_num = rv[n] / height; int y_num = rv[n] % height; Image->Canvas->Pixels[x_num][y_num] = clWhite; } Image->Update(); } |
実際にやると目の錯覚(たぶん)でだんだん遅くなっているように感じる。
変化量を増やしていく
白くするPixel数がどんどん増えるように改良。
|
1 2 3 4 5 6 7 8 9 10 11 12 13 14 15 |
// ②C 変化量を増やしていく //--------------------------------------------------- int x = 0, y = 0; int count = 1; // 変化量 for( int i = 0; i < rv.size(); i += count ) { for( int n = i; n <= i + count && n < rv.size(); ++n ) { x = rv[n] / height; y = rv[n] % height; Image->Canvas->Pixels[x][y] = clWhite; } Image->Update(); ++count; } |
だいぶ自然な感じになった。
Bitmap以外の場合
ここまで使ったImage->CanvasはBitmap以外はアクセスできない。
他の画像形式はBitmapに代入して行うのが安直だけど手軽。
|
1 2 3 4 5 6 |
if( Image->Picture->Graphic->ClassName() != L"TBitmap" ) { std::shared_ptr<TBitmap> bmp( new TBitmap ); bmp->Assign( Image->Picture->Graphic ); Image->Picture->Assign( bmp.get() ); } |
まとめコード
以上のまとめコード。
|
1 2 3 4 5 6 7 8 9 10 11 12 13 14 15 16 17 18 19 20 21 22 23 24 25 26 27 28 29 30 31 32 33 34 35 36 37 38 39 40 41 42 43 44 45 46 47 |
#include <vector> #include <random> #include <algorithm> // shuffle; #include <numeric> // iota: #include <memory> #include <time.h> void __fastcall TForm1::BtnSampleClick(TObject *Sender) { // Imageに画像が無い場合は終了 if( !Image->Picture ) return; // 画像がBitmap以外ならBitmapにする //--------------------------------------------------- if( Image->Picture->Graphic->ClassName() != L"TBitmap" ) { std::shared_ptr<TBitmap> bmp( new TBitmap ); bmp->Assign( Image->Picture->Graphic ); Image->Picture->Assign( bmp.get() ); } // 画像のピクセル数分のランダムな数値配列を作る //--------------------------------------------------- const auto width = Image->Picture->Width; const auto height = Image->Picture->Height; std::vector<int> rv( width * height ); std::iota( rv.begin(), rv.end(), 0 ); std::mt19937 engine( time(0) ); // "time(0)"はclang用: std::shuffle( rv.begin(), rv.end(), engine ); // 変化量を増やしつつピクセル操作 //--------------------------------------------------- int x = 0, y = 0; int count = 1; // 変化量 for( int i = 0; i < rv.size(); i += count ) { for( int n = i; n <= i + count && n < rv.size(); ++n ) { x = rv[n] / height; y = rv[n] % height; Image->Canvas->Pixels[x][y] = clWhite; } Image->Update(); ++count; } } |
2.色を薄くしていく
画像が段々薄くなるパターン。
RGBをいじるだけ。ScanLineを使えるので、ランダムなピクセル操作よりは高速。
|
1 2 3 4 5 6 7 8 9 10 11 12 13 14 15 16 17 18 19 20 21 22 23 24 25 26 27 |
std::shared_ptr<TBitmap> bmp( new TBitmap ); bmp->Assign( Image->Picture->Graphic ); int counter = 0; while( counter++ < 255 ) { for( int y = 0; y < bmp->Height; ++y ) { TRGBTriple* ptr = reinterpret_cast<TRGBTriple*>( bmp->ScanLine[y] ); for( int x = 0; x < bmp->Width; ++x ) { int r = ptr[x].rgbtRed; int g = ptr[x].rgbtGreen; int b = ptr[x].rgbtBlue; if( r < 255 ) r++; if( g < 255 ) g++; if( b < 255 ) b++; ptr[x].rgbtBlue = b; ptr[x].rgbtGreen = g; ptr[x].rgbtRed = r; } } Image->Canvas->Draw( 0, 0, bmp.get() ); Image->Update(); } |
かなりスムースになる。
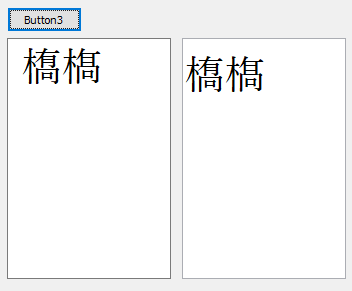
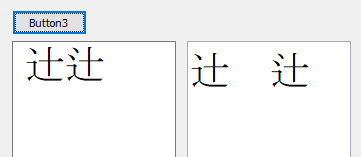
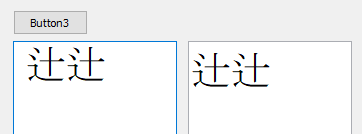
3.アルファチャンネルを使う
TBitmapのアルファチャンネルを設定し、だんだん薄くしていく手もある。
(画像タイプみて変換する処理は省略。TPNGImageだと別の方法があるらしい)
|
1 2 3 4 5 6 7 8 9 10 11 12 13 14 15 16 17 18 19 20 21 22 23 24 |
// 32bitビットマップにする //--------------------------------------------------- if( Image->Picture->Bitmap->PixelFormat != pf32bit ) { Image->Picture->Bitmap->PixelFormat = pf32bit; } // アルファ値を減らしながら指定する //--------------------------------------------------- TBitmap* bmp = Image->Picture->Bitmap; for( int a_val = 255; a_val >= 0; a_val-- ) { for( int y = 0; y < bmp->Height; ++y ) { auto ptr = reinterpret_cast<RGBQUAD*>( bmp->ScanLine[y] ); for( int x = 0; x < bmp->Width; ++x ) { ptr[x].rgbReserved = a_val; } } bmp->AlphaFormat = afDefined; Image->Update(); bmp->AlphaFormat = afIgnored; } bmp->AlphaFormat = afDefined; |
実行結果。
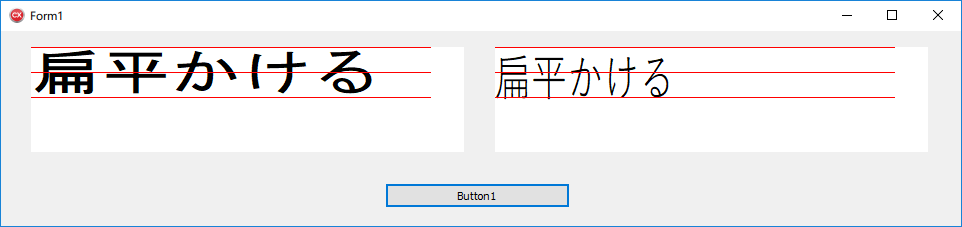
4.Drawメソッドの第4引数を使う(お手軽)
Canvas->Drawメソッドで、第4引数の不透明度(Opacity)を指定する方法。
これはかなり手軽。TImageの画像がどんな形式でも、変換する必要はない。
|
1 2 3 4 5 6 7 8 9 10 11 12 |
// 転送用のビットマップ std::shared_ptr<TBitmap> bmp( new TBitmap ); bmp->Assign( Image->Picture->Graphic ); Image->Picture = nullptr; // 透過度を増やしながらTImageに画像コピー for( int opc = 255; opc >= 0; --opc ) { Image->Canvas->Draw( 0, 0, bmp.get(), opc ); Image->Update(); Image->Picture = nullptr; } |
C++Builder10.2.3 / Windows10(21H2)で確認。